House Manual
House Manual
Click the Icons Below for Detailed Information

Television

baby gate

fireplace

hot tub
fire pit
string lights timer

heating & cooling
fridge
Television
baby gate
fireplace
hot tub
fire pit
string lights timer
heating & cooling
fridge

Amenities Provided
TOILETRIES
We are pleased to offer you starter toiletries and plenty of cleaning supplies. Depending on the length of your stay, you may need to bring or purchase additional items when your initial supply runs out.
shampoo
conditioner
body wash
bar soap
makeup wipes
toilet paper
Please do not use white washcloths/towels for cleaning off makeup--that will ruin them. We've makeup removers for this purpose. If you need to clean something grimy, there are rags in the laundry room that you may use.
Did you forget to bring something? We have boxes in the bathroom cabinets containing a few toiletry essentials such as disposable toothbrushes and razors.
COOKING CONVENIENCES
The kitchen is fully loaded:
microwave
Delonghi Eletta Explore Fully Automatic Espresso Machine with hot and cold foam technology
Keurig K-Duo single-serve and carafe coffee maker
coffee beans, k-pods, pre-ground single pot packet, creamer, and tea bags
refrigerator/freezer
oven/range
dishwasher
4 slice toaster
blender
tea kettle
rice maker
cookware and serving ware
dishwasher detergent pods and dishwashing detergent
gadgets aplenty
No Ziploc bags, plastic wrap, foil, oil, or condiments are provided.
IN & AROUND THE HOUSE
We have a multicade in the game room with 60 games. Please enjoy them! There is also a PS4 with 2 controllers--bring your own Playstation login.
We have created a fun, kid-sized den for the little ones in the game room under the stairs! With a bean bag chair, children's books and puzzles, small children have a cozy place to hide, read and play!
The dining table seats 8. A folding wooden card table and 4 chairs are located in the closet of the upstairs guest bedroom, which you can use as supplemental seating.
The leather futon in the game room pulls out to sleep 2, and the extra bedding and pillows for it can be found in the closet in the mini hallway off the bunk room.
television
There are 7 large flat-screen, high-definition televisions, located in almost every room except for the bathrooms! Each TV has a Roku streaming device. Use your own passwords to log into your streaming accounts.

TV input needs to be HDMI 1 for Roku, so check this if you are having trouble accessing Roku or the TV says there is no signal/internet. The input for all of the LG TVs can be changed by pressing the cable icon
on the remote. For the Samsung in the upper living room, choose the Source button on the top right of the remote.
There are a few live-streaming channels. If you are in Roku, press the Home button on the remote, and scroll over to live TV. When done watching live TV, change input back to HDMI1 to get back to Roku.
Rooms have 2 remotes for the television and the Roku. Typically, only the Roku remote should be necessary. The Roku remotes are labeled--please keep them in the specified rooms, because they will only work in the room they are programmed for.
Admin network login is needed for Airplay, which we will provide upon request.
Please don't touch the Roku device or cables/wires on the back of the televisions!
television
There are 7 large flat-screen, high-definition televisions, located in almost every room except for the bathrooms! Each TV has a Roku streaming device. Use your own passwords to log into your streaming accounts.
TV input needs to be HDMI 1 for Roku, so check this if you are having trouble accessing Roku or the TV says there is no signal/internet. The input for all of the LG TVs can be changed by pressing the cable icon
on the remote. For the Samsung in the upper living room, choose the Source button on the top right of the remote.
There are a few live-streaming channels. If you are in Roku, press the Home button on the remote, and scroll over to live TV. When done watching live TV, change input back to HDMI1 to get back to Roku.
Rooms have 2 remotes for the television and the Roku. Typically, only the Roku remote should be necessary. The Roku remotes are labeled--please keep them in the specified rooms, because they will only work in the room they are programmed for.
Admin network login is needed for Airplay, which we will provide upon request.
Please don't touch the Roku device or cables/wires on the back of the televisions!
baby gate
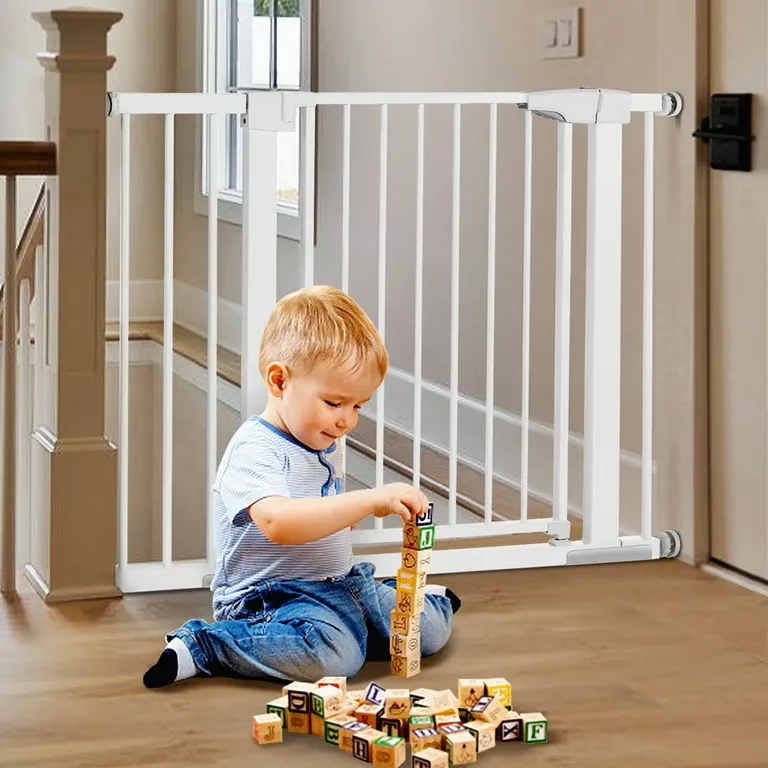

After extending the baby gate, always lock it to tighten and secure.
baby gate
After extending the baby gate, always lock it to tighten and secure.
fireplace
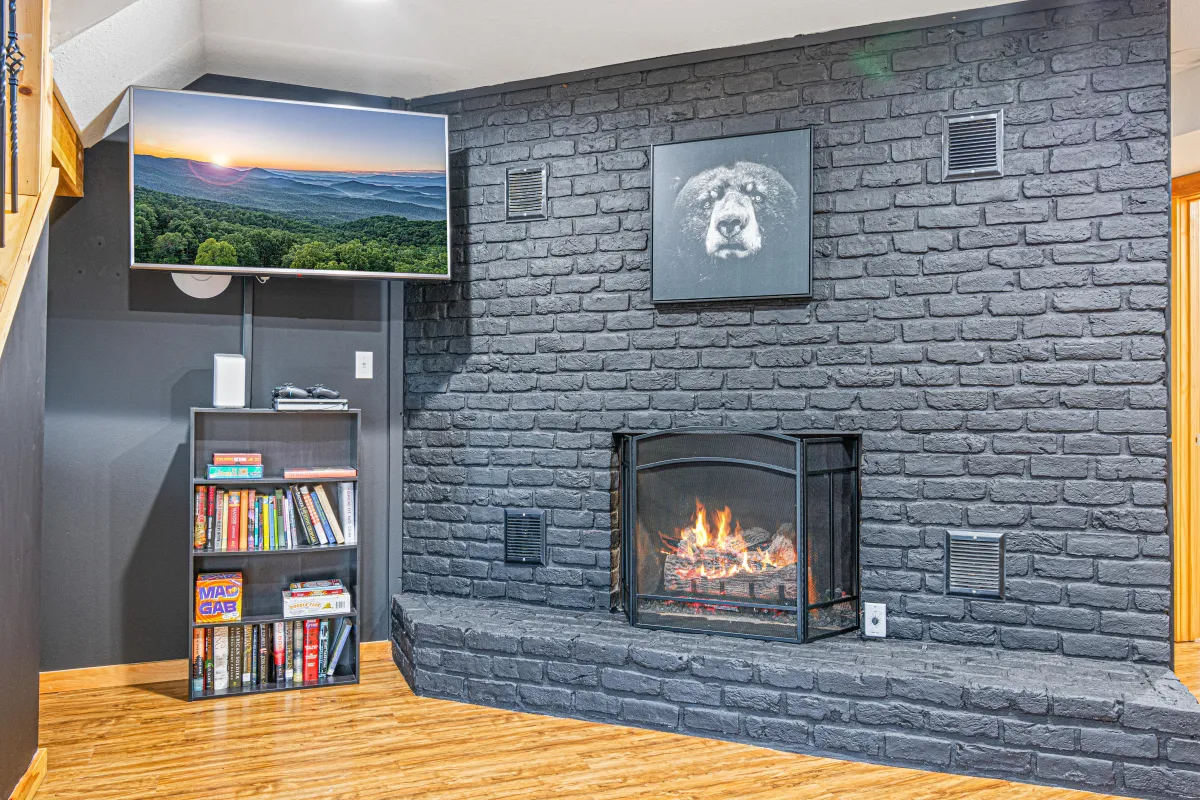
This pilot light can blow out if there's a crosswind from both doors being open.
There are 2 dials below the logs
1 dial needs to be turned to pilot
The other dial is high-low
Make sure the black switch inside the fireplace on the right side, is set to "on"
It takes awhile for both the pilot light to ignite, and then for the remote to be able to light the logs. Hold pilot knob down for 60-95 seconds, then slowly release while turning it to "on". Once the pilot is lit, wait a few minutes before setting the timer to turn the flames on.
fireplace
This pilot light can blow out if there's a crosswind from both doors being open.
There are 2 dials below the logs
1 dial needs to be turned to pilot
The other dial is high-low
Make sure the black switch inside the fireplace on the right side, is set to "on"
It takes awhile for both the pilot light to ignite, and then for the remote to be able to light the logs. Hold pilot knob down for 60-95 seconds, then slowly release while turning it to "on". Once the pilot is lit, wait a few minutes before setting the timer to turn the flames on.
hot tub
Spa towels are located in the hamper in the game room.
Access the 6 person hot tub by exiting through the screened porch, and follow the pavers to the hot tub under the deck.
There is an outlet under the deck to plug in the rope lights.
If too many buttons are pressed too fast on the control panel, you can accidentally get into Economy Mode (Ec) or Sleep Mode (SL). To get back to Standard Mode (St), hit the Warm button and then the Light button. The pump should then kick on. It is best to wait 5-10 seconds after pressing one button, before pressing a different one, so that you do not accidentally change modes.
The hot tub is drained, cleaned, refilled, and chemicals replenished prior to your arrival.
If it is not yet completely heated by the time you arrive, it should only take a few more hours to get to temperature.
Safety Rules
Shower with soap and water before you enter.
Enter and exit the hot tub slowly.
No jumping or driving.
Do not bring glass in or near hot tub.
Do not use alcohol, narcotics, or medication during hot tub use.
Elderly persons must consult doctor before use.
Pregnant women must consult doctor before use.
Children must be supervised by an adult.
Do not enter if the temperature is above 104 degrees fahrenheit.
Limit your soak to 15 minutes, and cool off before re-entry.
Anyone with heart disease, diabetes, high or low blood pressure or any serious illness must consult with a doctor before entering hot tub.
Replace hot tub cover after each use.
Do not sit or lie down on hot tub cover.
Turn off high jets after use.
Do not use soaps or oils in hot tub.
Pets are not allowed in hot tub under any circumstances.
hot tub

Spa towels are located in the hamper in the game room.
Access the 6 person hot tub by exiting through the screened porch, and follow the pavers to the hot tub under the deck.
There is an outlet under the deck to plug in the rope lights.
What to do if the hot tub is not heating.
If too many buttons are pressed too fast on the control panel, you can accidentally get into Economy Mode (Ec) or Sleep Mode (SL). To get back to Standard Mode (St), hit the Warm button and then the Light button. The pump should then kick on. It is best to wait 5-10 seconds after pressing one button, before pressing a different one, so that you do not accidentally change modes.
The hot tub is drained, cleaned, refilled, and chemicals replenished prior to your arrival.
If it is not yet completely heated by the time you arrive, it should only take a few more hours to get to temperature.
Adjusting the Temperature
Enter Programming Mode: Press the “Cool” button once. The current programmed temperature will flash on the display, indicating that the spa is in programming mode.
Set Desired Temperature: While the temperature is flashing, press the “Warm” button to increase the temperature or the “Cool” button to decrease it.
Save the Setting: After setting your desired temperature, wait for 3 seconds without pressing any buttons. The display will stop flashing, and the new temperature will be saved.
Note: If the display is not flashing when you attempt to adjust the temperature, the changes will
not be saved.
Important Tips
Temperature Range: You can set the temperature between 80°F and 104°F.
Wait Between Button Presses: To prevent unintended changes, wait at least 5 seconds after
pressing one button before pressing another.
Operating Modes: Ensure your spa is in the correct operating mode:
Standard Mode: Maintains the set temperature continuously.
Economy Mode: Heats the water only during filtration cycles.
Sleep Mode: Heats the water to 20°F below the set temperature during filtration cycles.
To change modes, press the “Cool” button, and while the display is still flashing, press the
“Light” button. The current mode will flash on the display. Press the “Cool” button followed
immediately by the “Light” button until the desired mode is displayed.
How to Manually Control the Jets
To control the jets manually, use the “Pump” button on your spa's topside control panel:
1. Press once: Activates the pump on low speed.
2. Press a second time: Switches the pump to high speed.
3. Press a third time: Turns the pump off, stopping the jets.
The hot tub is drained, cleaned, refilled, and chemicals replenished before your arrival. If it is not yet completely heated by the time you arrive, it should only take a few more hours to get to temperature.
Safety Rules
Shower with soap and water before you enter.
Enter and exit the hot tub slowly.
No jumping or driving.
Do not bring glass in or near hot tub.
Do not use alcohol, narcotics, or medication during hot tub use.
Elderly persons must consult doctor before use.
Pregnant women must consult doctor before use.
Children must be supervised by an adult.
Do not enter if the temperature is above 104 degrees fahrenheit.
Limit your soak to 15 minutes, and cool off before re-entry.
Anyone with heart disease, diabetes, high or low blood pressure or any serious illness must consult with a doctor before entering hot tub.
Replace hot tub cover after each use.
Do not sit or lie down on hot tub cover.
Turn off high jets after use.
Do not use soaps or oils in hot tub.
Pets are not allowed in hot tub under any circumstances.
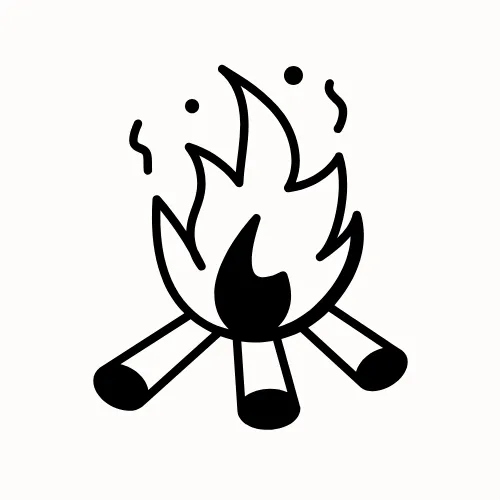
FIRE PIT
We provide firestarters and marshmallow skewers. You will need to bring your own firewood.
STARTING YOUR FIRE IN THE BREEO FIRE PIT
Because of the smokeless airflow system, the Breeo performs best if you build a "log cabin" with your wood instead of a "teepee"
Start with 2 pieces of cordwood and lay them parallel to each other and perpendicular to the X Airflow™ system to create the most airflow beneath your fire. Then, you’ll stack two pieces of kindling perpendicular to the cordwood, and place your firestarter in the center of the four walls. Continue stacking the kindling until it approaches the top quarter of your fire pit (about 5 layers).
Place a firestarter in the middle of the log cabin.
LIGHT IT UP
Using a grill lighter, light the firestarter at the bottom of the log cabin. We don’t recommend using matches, as they can be hazardous and are difficult to use when you’re reaching into the bottom of the fire pit.

Once your kindling has been burning for about 15-30 minutes and the fire begins licking up through the pieces, you can begin adding small pieces of cordwood. Start by adding
1-2 pieces of wood at a time and
make sure to push
the fire to the outer edges of the fire pit to heat up the walls
and ensure a smokeless burn. As you place your cordwood on the fire, your log cabin will begin to break apart. Continue adding wood to the perimeter of the fire when needed, making sure the wood is never above the fire pit rim. This part of the process takes a little practice of getting to know your fire and when the best time is to add wood.
Cover the fire or hot coals with the screen to minimize sparks.
PUTTING OUT YOUR FIRE
The recommended method for putting out your fire is to let it burn out. This creates the least amount of ash which results in easy cleanup.
After your ashes cool down, clean out your fire pit using the Ash Shovel, specifically designed for Breeo Fire Pits.
Avoid dumping water on your fire. This creates build-up in the Airflow system. Do not use the Breeo lid to snuff your fire out as it is not designed to withstand the high heat.
FIRE PIT
We provide firestarters and marshmallow skewers. You will need to bring your own firewood.
STARTING YOUR FIRE IN THE BREEO FIRE PIT
Because of the smokeless airflow system, the Breeo performs best if you build a "log cabin" with your wood instead of a "teepee"
Start with 2 pieces of cordwood and lay them parallel to each other and perpendicular to the X Airflow™ system to create the most airflow beneath your fire. Then, you’ll stack two pieces of kindling perpendicular to the cordwood, and place your firestarter in the center of the four walls. Continue stacking the kindling until it approaches the top quarter of your fire pit (about 5 layers).
Place a firestarter in the middle of the log cabin.
LIGHT IT UP
Using a grill lighter, light the firestarter at the bottom of the log cabin. We don’t recommend using matches, as they can be hazardous and are difficult to use when you’re reaching into the bottom of the fire pit.
Once your kindling has been burning for about 15-30 minutes and the fire begins licking up through the pieces, you can begin adding small pieces of cordwood. Start by adding
1-2 pieces of wood at a time and
make sure to push
the fire to the outer edges of the fire pit to heat up the walls
and ensure a smokeless burn. As you place your cordwood on the fire, your log cabin will begin to break apart. Continue adding wood to the perimeter of the fire when needed, making sure the wood is never above the fire pit rim. This part of the process takes a little practice of getting to know your fire and when the best time is to add wood.
Cover the fire or hot coals with the screen to minimize sparks.
PUTTING OUT YOUR FIRE
The recommended method for putting out your fire is to let it burn out. This creates the least amount of ash which results in easy cleanup.
After your ashes cool down, clean out your fire pit using the Ash Shovel, specifically designed for Breeo Fire Pits.
Avoid dumping water on your fire. This creates build-up in the Airflow system. Do not use the Breeo lid to snuff your fire out as it is not designed to withstand the high heat.
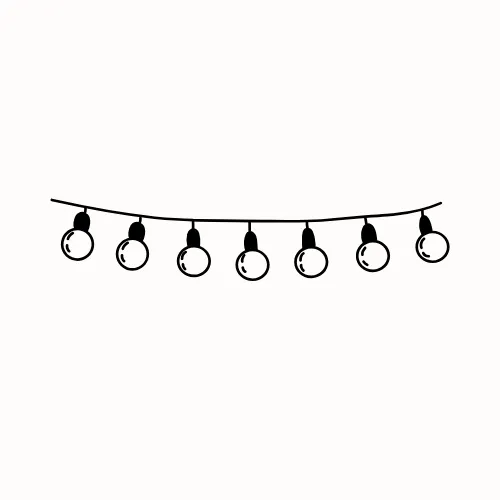
string lights timer
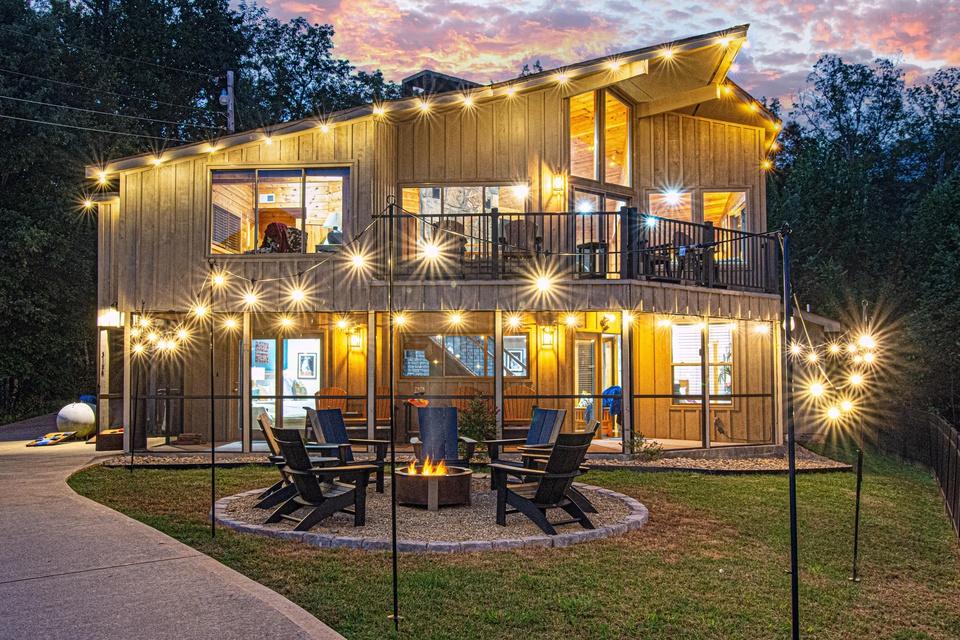
The timer for the front lights is located on the porch across from the front door.
The timer for the back lights is at the edge of the house between the hot tub and the trash bins.
Instructions to turn off lights at an earlier or later time:
Press the “My Countdown” button on the timer.
Use the arrow buttons to choose how long (e.g., 1 minute, 1 hour) you want the device to stay on before turning off.
Once set, the device will stay on for that duration and then automatically shut off.
The timer will still follow the next “My On Time” schedule as usual. You don’t need to reprogram anything, and it won't disrupt the existing schedule.
string lights timer
The string lights are on timers.
The timer for the front lights is located on the porch across from the front door.
The timer for the back lights is at the edge of the house between the hot tub and the trash bins.
Instructions to turn off lights at an earlier or later time:
Hit the "my off time" button once
Hit the up or down arrow until you get to the time you want it to turn off. This should be at a later time than it is at the moment, otherwise, it won't work until the next day.
Do not hit any other buttons again--there should be a blue light next to the "my on time" and "my off time" buttons.
heating & cooling

You’ll find a panel at the top of the stairs that allows you to control the temperature of the upper level. Downstairs, the thermostat is located in the hallway.
If you're running the air conditioning, please ensure that all windows and outside doors are closed to ensure it operates at the maximum efficiency.
If the downstairs thermostat panel gets locked, accidentally or on purpose, the PIN to unlock it is 3363.
The upstairs thermostat PIN is 3348.
The gas fireplaces are in service from October through April. The upstairs fireplace can be remote started from the plate on the wall to the left.
The downstairs fireplace turns on with a timer knob on the hearth.
heating & cooling
You’ll find a panel at the top of the stairs that allows you to control the temperature of the upper level. Downstairs, the thermostat is located in the hallway.
If you're running the air conditioning, please ensure that all windows and outside doors are closed to ensure it operates at the maximum efficiency.
If the downstairs thermostat panel gets locked, accidentally or on purpose, the PIN to unlock it is 3363.
The upstairs thermostat PIN is 3348.
The gas fireplaces are in service from October through April. The upstairs fireplace can be remote started from the plate on the wall to the left.
The downstairs fireplace turns on with a timer knob on the hearth.
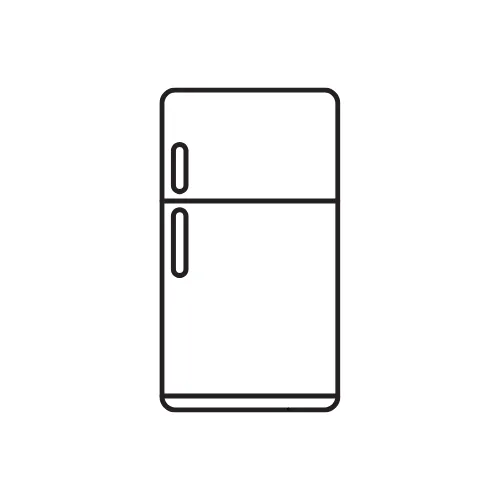
fridge
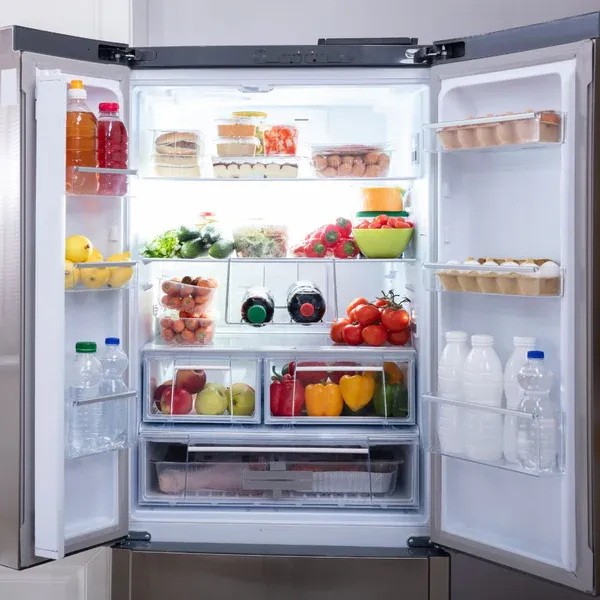
A large quantity of groceries placed in an empty refrigerator will take approximately 12 hours to cool.
Cool perishable items first, such as dairy, fruits/vegetables, meat. Place canned drinks and large fruits such as watermelon in a cooler with ice and move to the refrigerator in a few hours. It will take longer to cool these items if placed in the fridge first.
Keeping the doors closed as much as possible during the first few hours is helpful.
While the MEDIUM setting may not make sense initially, if controls are set to Maximum a defrost cycle will occur as the refrigerator will fail to keep up at trying to cool down the large quantity items you have placed in the fridge. The coils will freeze. It will now take longer to cool down as the refrigerator won’t begin to cool until after the defrost cycle is complete, which can be 18-24 hours.
fridge
A large quantity of groceries placed in an empty refrigerator will take approximately 12 hours to cool.
Cool perishable items first, such as dairy, fruits/vegetables, meat. Place canned drinks and large fruits such as watermelon in a cooler with ice and move to the refrigerator in a few hours. It will take longer to cool these items if placed in the fridge first.
Keeping the doors closed as much as possible during the first few hours is helpful.
While the MEDIUM setting may not make sense initially, if controls are set to Maximum a defrost cycle will occur as the refrigerator will fail to keep up at trying to cool down the large quantity items you have placed in the fridge. The coils will freeze. It will now take longer to cool down as the refrigerator won’t begin to cool until after the defrost cycle is complete, which can be 18-24 hours.